Unzip the VMWARE virtual machine from the .ZIP file into an empty directory. (The VMWARE image consists of several files, and segregating them into their own space simplifies management issues).
The virtual machine as provided uses bridged networking; it is (and must be) a separate and unique entity on the network. The image as provided assumes that it will be assigned a network address by a running DHCP server. If there is no such server, the settings much be altered to provide a unique address appropriate to the network on which it is running (the same network as the host machine). If at all possible, leave the VM as using bridged networking.
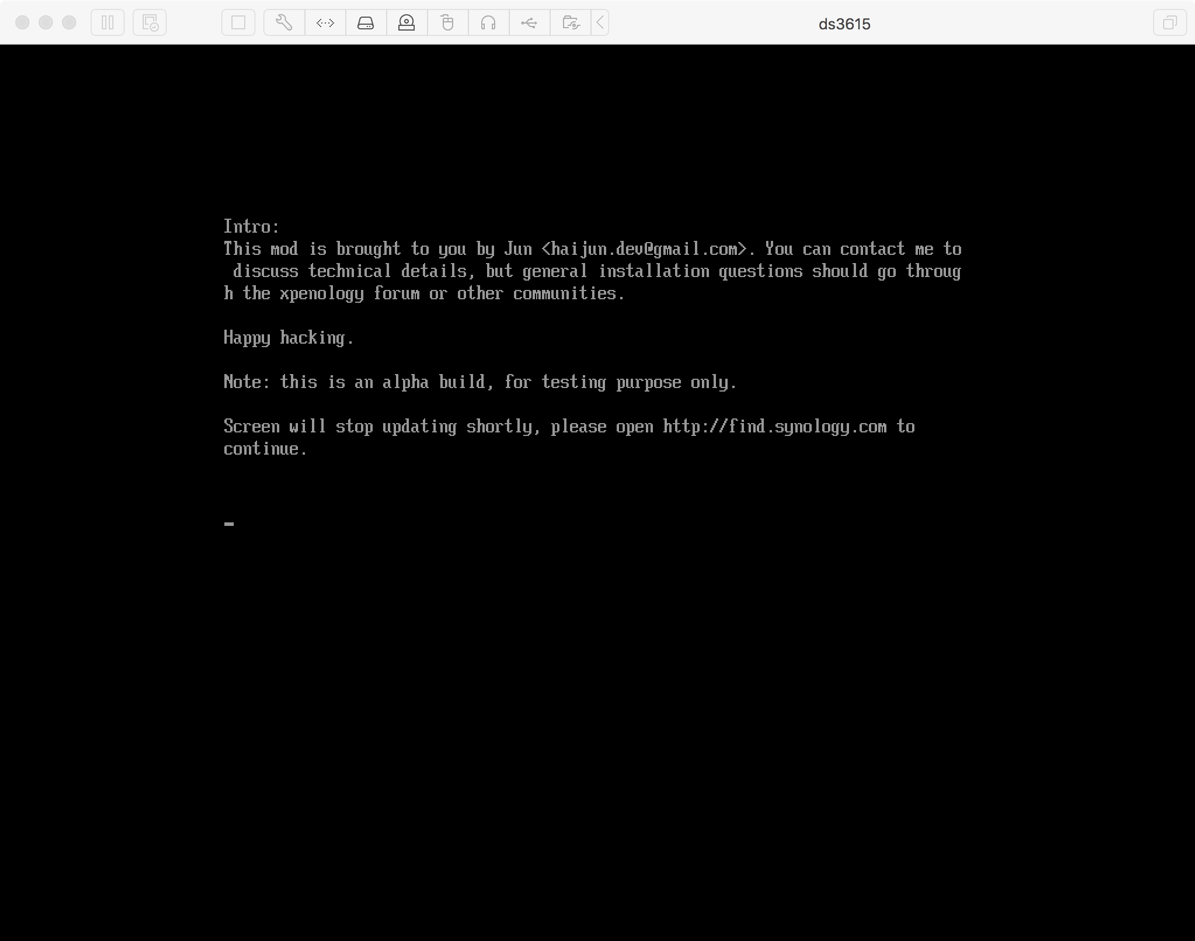
Start the virtual machine. The console will show some opening graphics, and eventually end up looking like:

This initially unpromising screen is exactly the right display; the console will not update after this point.
Download, install, and run the Synology Assistant application to find and connect to the VM.
From this point, please see the directions for using the Backblaze Fireball (provided separately). Those directions refer to credentials available from the Fireball order itself (for the DSM login and the shared data folder. For the VM, those credentials are:
DSM username: backblaze
DSM password: violet
Shared Folder (DataForB2) password: backblaze